
How to Steam Oysters
How To Steam Oysters
Steamed oysters are a quintessential outdoor dish, beloved for their simplicity, flavor, and the communal experience they create. Unlike other seafood options that require intricate preparation, steaming oysters is straightforward and quick, making it ideal for gatherings where the focus is on enjoying good food and great company. The natural brininess of oysters, enhanced by steaming, delivers a fresh, oceanic flavor that pairs beautifully with a variety of seasonings and sauces.
Beyond their taste, oysters are packed with nutritional benefits. They are rich in protein, omega-3 fatty acids, and essential minerals like zinc and iron, making them a healthy choice for seafood lovers. Steaming oysters outdoors also adds an element of fun and interaction, as guests can watch the process, participate in shucking, and savor the results together. Whether you’re hosting a casual backyard barbecue or a more formal al fresco dinner, steamed oysters are a crowd-pleasing centerpiece that embodies the spirit of outdoor dining.
Essential Tools and Equipment for Steaming Oysters Outdoors
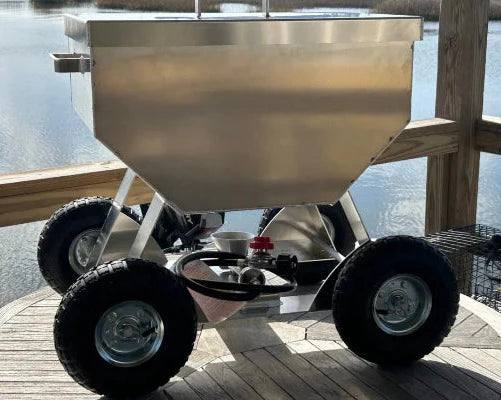
To steam oysters outdoors, you’ll need a few essential tools to ensure the process is smooth and safe. The most important piece of equipment is a steamer pot or a large stockpot with a steaming rack. If you’re cooking for a larger group, consider using an outdoor burner or grill with a steaming attachment to accommodate more oysters at once. For smaller gatherings, a portable propane burner can be a convenient option.
Safety tools are equally important. Oyster knives and gloves are essential for shucking oysters, especially if you plan to serve them raw alongside the steamed ones. Heat-resistant tongs are useful for handling hot oysters and equipment, while a sturdy pair of oven mitts can protect your hands from steam burns. For added convenience, you might also want to invest in a mesh basket or perforated tray to hold the oysters during steaming.
When choosing equipment, consider the size of your group and the space available. A compact setup works well for intimate gatherings, while larger pots and burners are better suited for big parties. Having the right tools not only makes the process easier but also ensures the safety and enjoyment of everyone involved.

How to Select Fresh Oysters for Steaming
The key to delicious steamed oysters lies in selecting the freshest possible shellfish. Fresh oysters should have tightly closed shells or close immediately when tapped. Avoid oysters with cracked or broken shells, as these may indicate spoilage. The smell is another important factor—fresh oysters should have a clean, briny aroma reminiscent of the ocean, without any off-putting or fishy odors.
Sourcing oysters from reputable suppliers is crucial. Look for local seafood markets or trusted vendors who prioritize quality and sustainability. If you’re buying oysters in bulk for a large gathering, ask the supplier about their harvesting practices and storage methods to ensure the oysters are safe to eat.
Once you’ve purchased your oysters, proper storage is essential to maintain their freshness. Keep them in a cool, damp environment, ideally in a refrigerator covered with a wet towel. Avoid storing oysters in airtight containers, as they need to breathe. For best results, plan to steam the oysters within 24-48 hours of purchase.
Step-by-Step Guide On How To Steam Oysters
Preparing the Oysters
Before steaming, it’s important to clean the oysters thoroughly. Use a stiff brush to scrub the shells under cold running water, removing any dirt, debris, or barnacles. This step ensures that the oysters are safe to eat and prevents grit from getting into the steaming pot.
Decide whether to shuck the oysters before steaming. While steaming un-shucked oysters is the traditional method, shucking them beforehand allows you to add seasonings directly to the meat. If you choose to shuck, use an oyster knife and gloves to protect your hands.
Setting Up Your Steaming Station
Choose a safe, level surface for your steaming setup, preferably outdoors where there’s plenty of ventilation. Place your steamer pot or grill on a stable base, and fill the pot with about 1-2 inches of water or a mixture of water and white wine for added flavor. Add a steaming rack or basket to hold the oysters above the liquid.
Safety is paramount when working with heat and steam. Keep a fire extinguisher nearby, and ensure children and pets are at a safe distance. Use heat-resistant gloves and tongs to handle hot equipment, and be cautious when opening the pot to avoid steam burns.
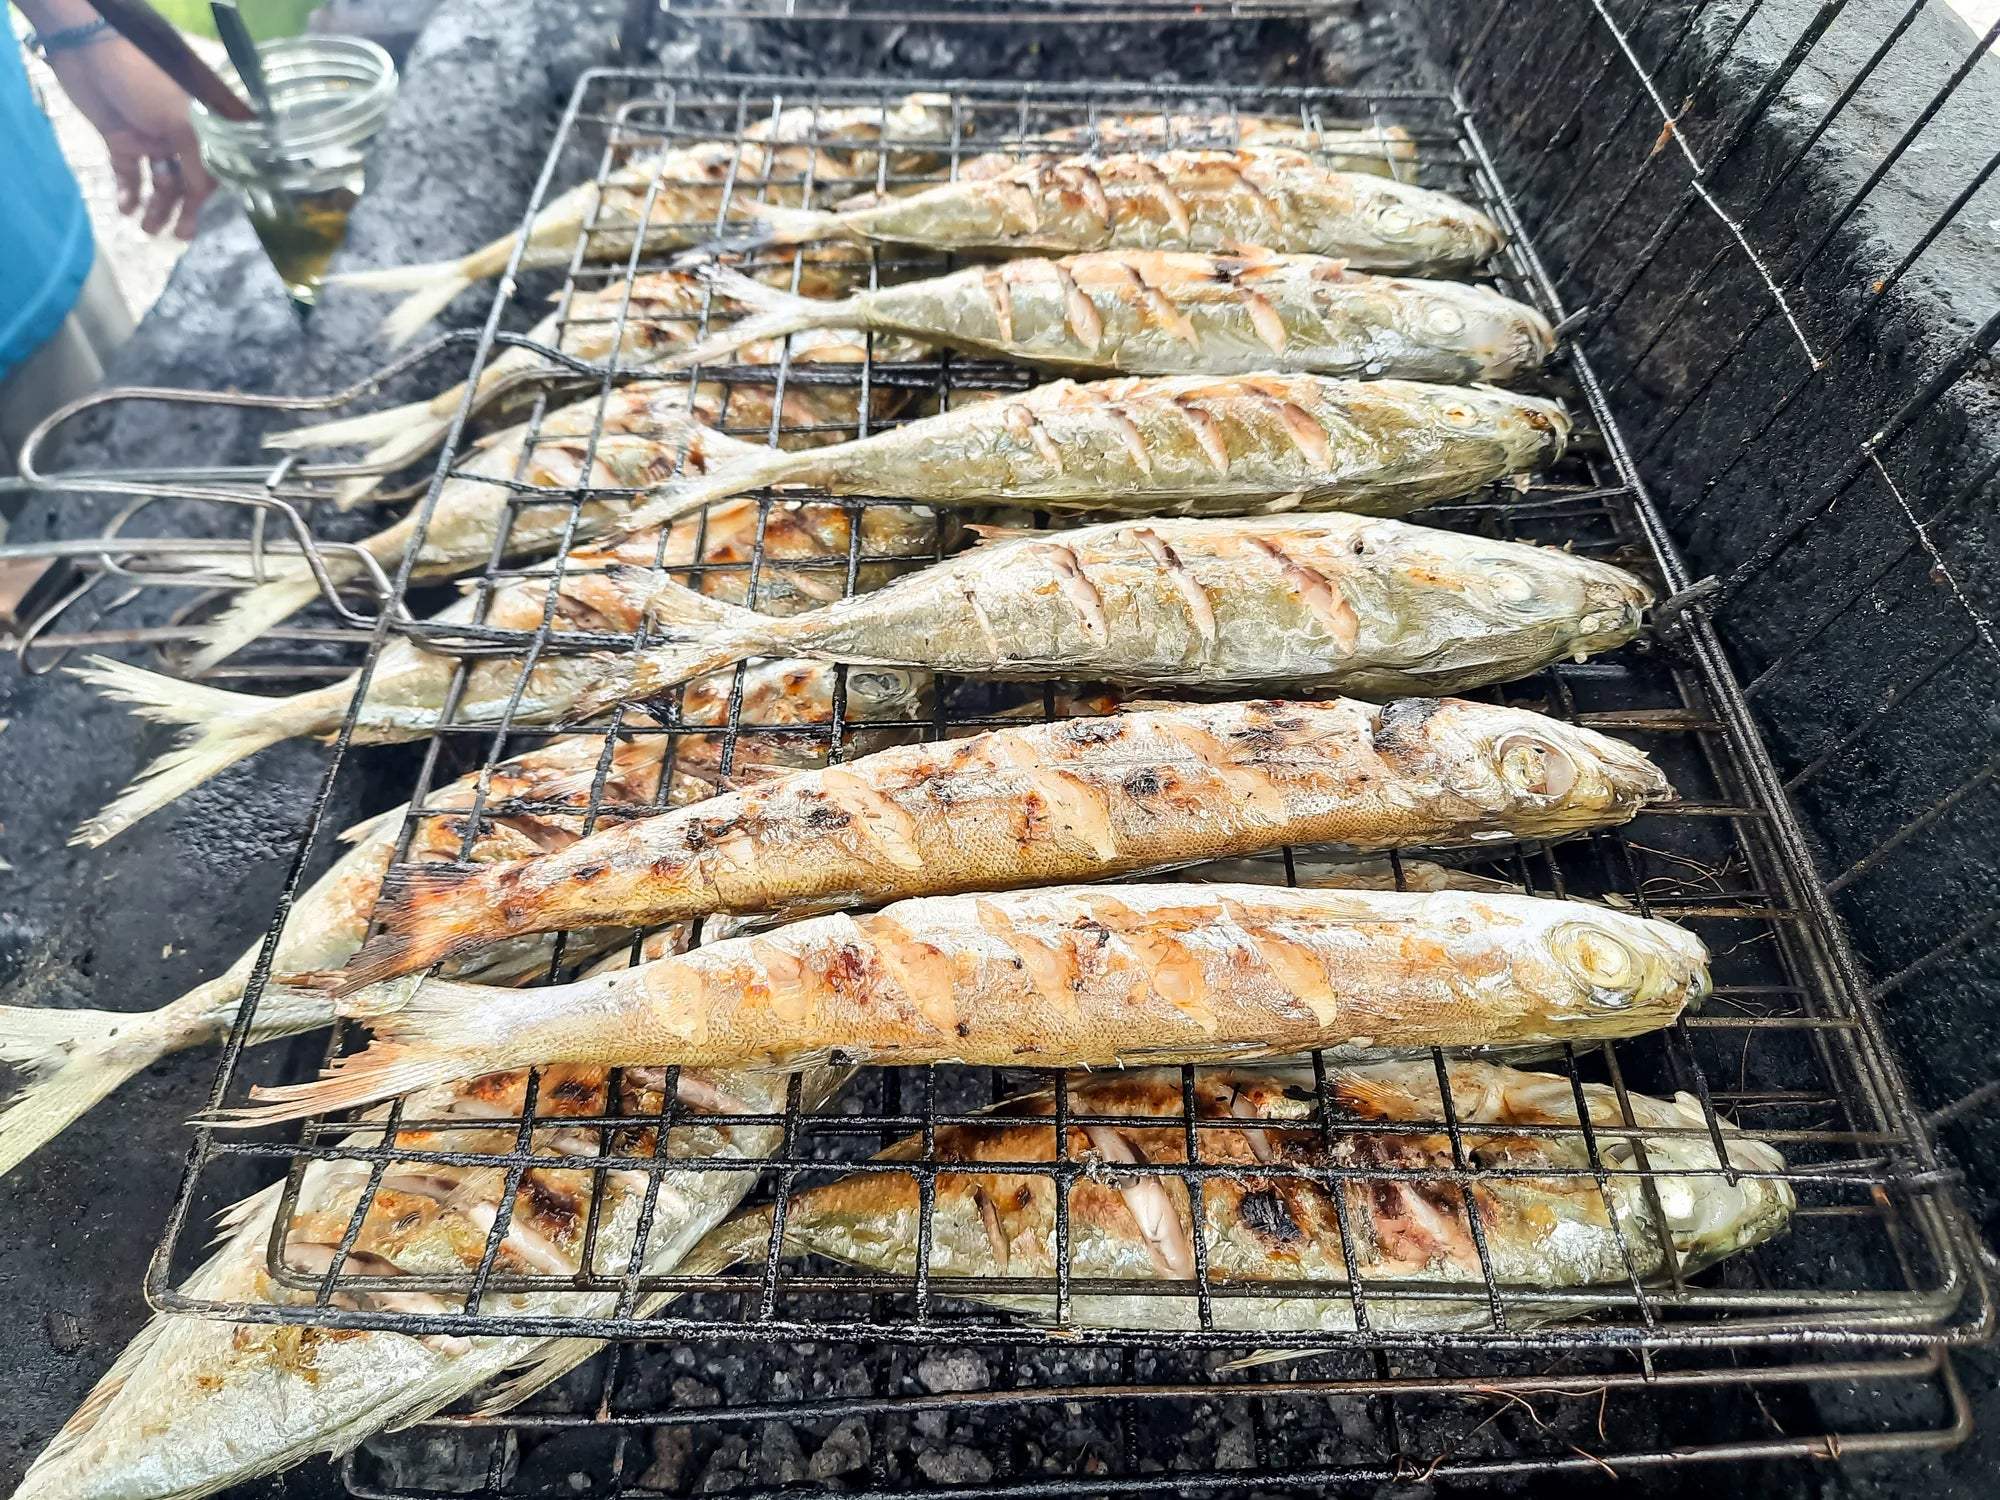
Steaming the Oysters
Once your setup is ready, arrange the oysters in a single layer on the steaming rack or basket. Cover the pot with a tight-fitting lid to trap the steam. Steam the oysters for 5-10 minutes, depending on their size, until the shells begin to open. Open shells are a clear indicator that the oysters are cooked and ready to eat.
If some shells remain closed after steaming, discard them, as they may not be safe to consume. Serve the oysters immediately for the best flavor and texture.
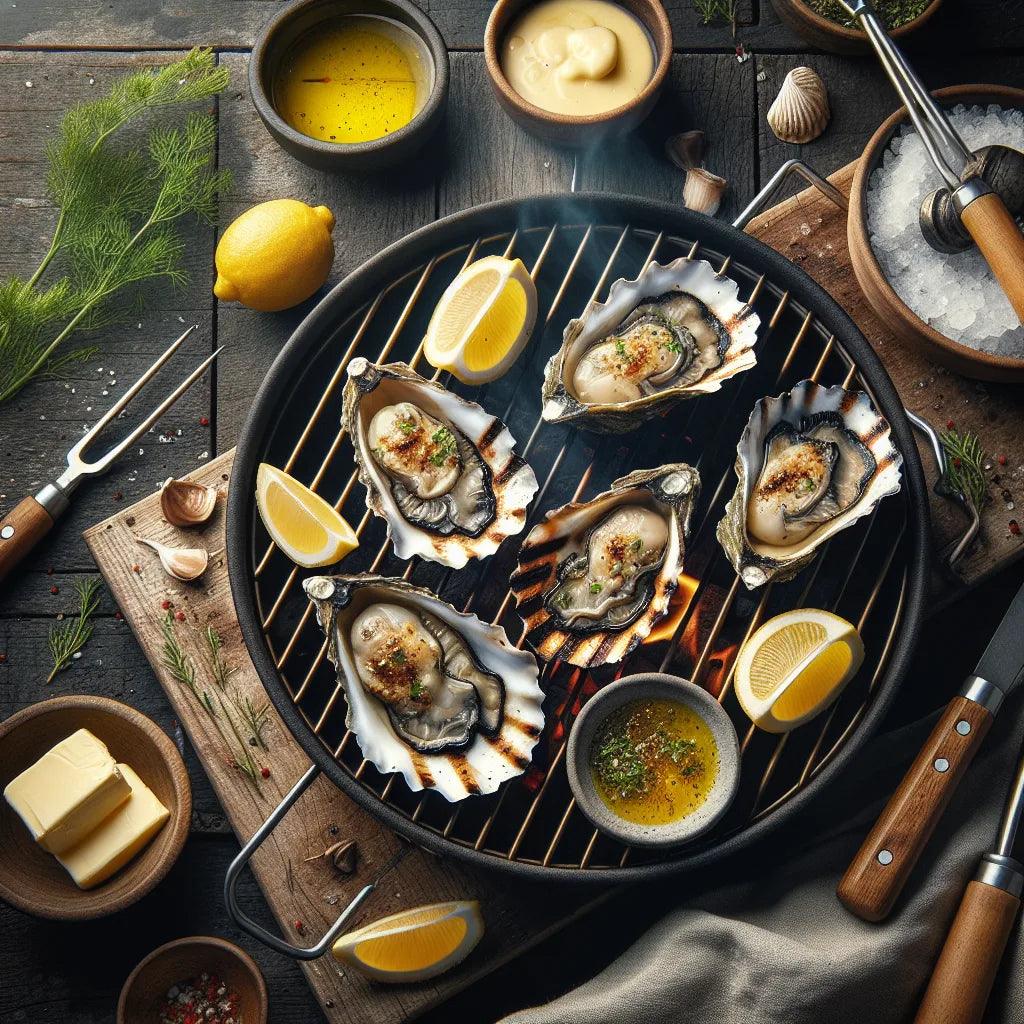
Flavor Enhancements: Seasonings, Sauces, and Toppings
Steamed oysters are delicious on their own, but adding seasonings, sauces, and toppings can elevate their flavor. Before steaming, you can sprinkle the oysters with garlic, herbs, or a splash of lemon juice for a subtle infusion. After steaming, popular sauces like mignonette, cocktail sauce, and hot sauce are perfect for dipping.
For a creative twist, consider topping the oysters with melted cheese, breadcrumbs, or bacon bits before steaming. These additions create a rich, indulgent flavor that’s sure to impress your guests. Experiment with different combinations to find the perfect pairing for your outdoor feast.
Pairing Steamed Oysters with Drinks and Sides
The right drink and side pairings can transform steamed oysters into a complete meal. Crisp white wines like Sauvignon Blanc or Chardonnay complement the briny flavor of oysters, while light beers and sparkling water offer refreshing alternatives. For a more adventurous pairing, try a dry cider or a smoky mezcal cocktail.
Side dishes should be simple yet flavorful. Crusty bread, coleslaw, and grilled vegetables are classic choices that balance the richness of the oysters. For a heartier option, serve the oysters with a side of creamy pasta or roasted potatoes. These pairings create a well-rounded outdoor feast that’s both satisfying and memorable.
Tips for Hosting an Outdoor Oyster Roast
Creating a comfortable and inviting outdoor dining area is key to hosting a successful oyster feast. Set up tables and chairs in a shaded area, and provide plenty of napkins and utensils for your guests. Decorative touches like string lights or floral arrangements can enhance the ambiance.
Serve the oysters on large platters or individual portions, depending on the size of your group. For added entertainment, consider hosting an oyster shucking demonstration or a tasting session where guests can sample different sauces and toppings. These activities encourage interaction and make the event more engaging.
Common Mistakes to Avoid When Steaming Oysters
Steaming oysters may be simple, but there are common mistakes to watch out for. Overcooking is a frequent issue that can result in rubbery, unappetizing oysters. To avoid this, monitor the steaming time closely and remove the oysters as soon as their shells open.
Under-seasoning is another pitfall. While oysters have a natural flavor, adding seasonings and sauces can enhance their taste and appeal. Using the wrong equipment, such as a pot without a steaming rack, can also lead to uneven cooking. Finally, always prioritize food safety by discarding unopened shells and storing oysters properly before cooking.
Cleaning Up After Your Outdoor Oyster Roast
After the feast, dispose of oyster shells responsibly. Many communities offer shell recycling programs that repurpose shells for environmental projects like oyster reef restoration. Alternatively, you can compost the shells if you have access to a composting facility.
Clean your equipment thoroughly to prevent rust and odors. Wash pots, racks, and utensils with warm soapy water, and store them in a dry place for future use. By adopting eco-friendly practices, you can enjoy your oyster feast while minimizing its environmental impact.
Frequently Asked Questions About Steaming Oysters
- Can you steam oysters without a steamer pot? Yes, you can use a grill with a steaming attachment or a makeshift setup with a pot and a colander.
- How long can steamed oysters be stored? Steamed oysters should be consumed within 1-2 days if refrigerated properly.
- What’s the best way to reheat leftover steamed oysters? Reheat them gently in a steamer or oven to avoid overcooking.
Creative Ways to Use Leftover Steamed Oysters
Leftover steamed oysters can be repurposed into delicious dishes. Use them in oyster stew, pasta, or chowder for a comforting meal. You can also chop them up and add them to a seafood salad or stuffing. Store leftovers in an airtight container in the refrigerator, and consume them within 1-2 days for the best flavor and safety.